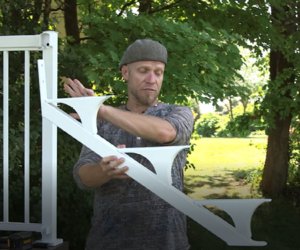
To install your QuickStep stair stringers, first identify the right and left stringer. You will want the fasteners to be hidden so position the stringers flat surface on the outside.
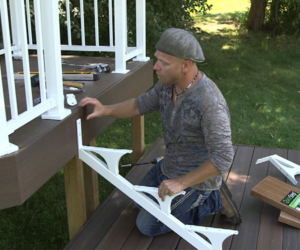
Before you begin, you will need to establish the location of the stringers. Maximum distance between the stringers varies depending on the tread material you use. Using the Regal QuickStep treads, allows you to span 36″ between stringers.
Check with your local Building Code when installing stairs above 24″ off ground level for appropriate fasteners that are recommended for your local code.
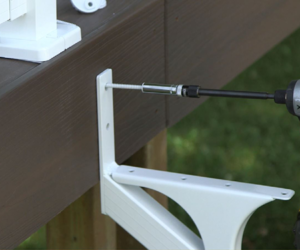
Using the appropriate fasteners, mount the top of the stair stringers.
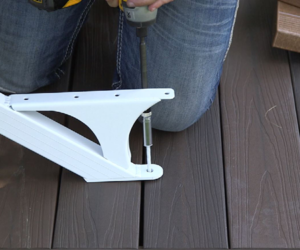
Making sure your QuickStep stair stringer is straight, fasten the bottom of the stringer. If you are sitting on a deck or platform, you want to make sure you have the proper blocking underneath. If its on concrete, use the appropriate masonry fastener.
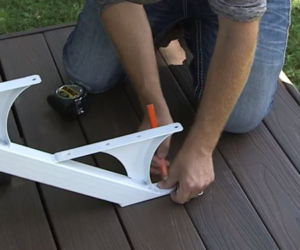
Measure and mark the appropriate spacing for the next QuickStep stringer to be installed.
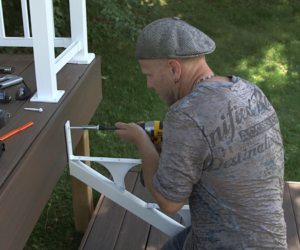
Using the appropriate fastener, fasten the top of the second QuickStep stair stringer.
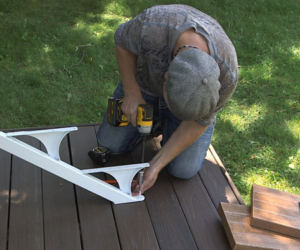
Fasten the bottom of the second QuickStep stair stringer.
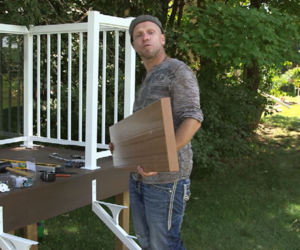
The QuickStep stair treads, have a smooth surface that sits on the stair stringers and a top surface that has anti-slip grooves through the tread.
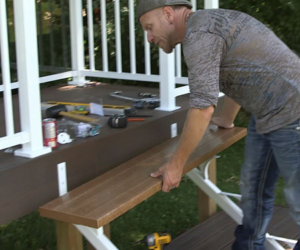
The QuickStep stair system mounts from the underside. If you need to cut the stair tread, you will need to follow the next few steps before under mounting to the stair stringer.
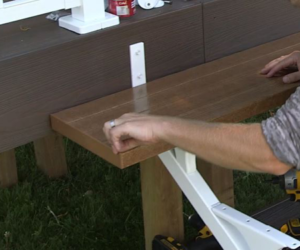
Each side of the QuickStep stair tread has a PVC cap.
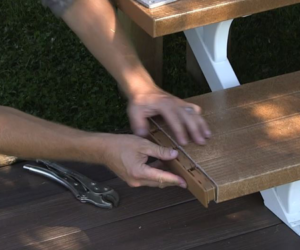
Carefully pry the PVC cap out from the QuickStep stair tread.
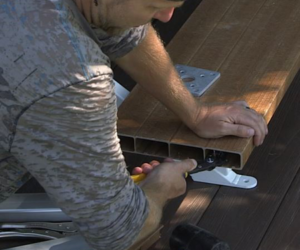
Inside the QuickStep stair tread is an aluminum track that the fasteners screw into. Take a pair of pliers and squeeze the channel together and pull it out. There are two aluminum channels per side. They both must be removed before cutting the stair tread.
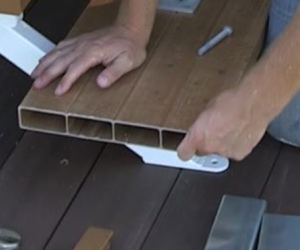
SAFETY FIRST: Always wear safety glasses when cutting the stair treads and any aluminum products.
After the QuickStep stair tread is cut, put back the aluminum channels into the slots they were taken out of.

Place back the PVC cap into the cut end of the QuickStep stair tread. Use a rubber mallet to tap it in place.
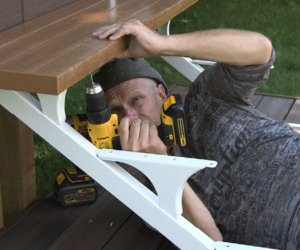
Pre-drill the holes for the fasteners. This will make the installation easier.
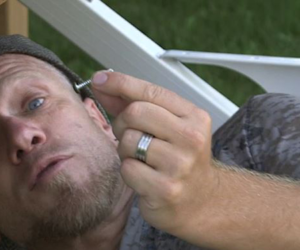
Use the QuickStep fastener (model: S114) to mount the stringer to the stair tread.
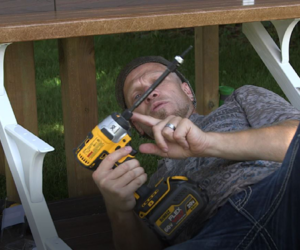
TIP: Use a bit extender to bet into the for back holes to connect the stringer to the QuickStep stair tread.
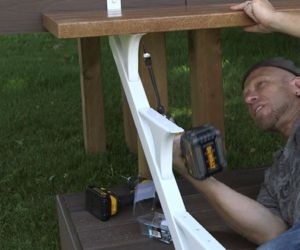
Fasten the S114 screws on both sides, starting from the back and working towards the front.
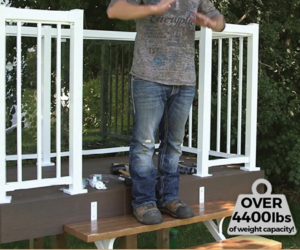
When the QuickStep stair tread and the QuickStep stair stringer are installed together, you are able to achieve 4400lbs of weight capacity per step at 36″ spacing!
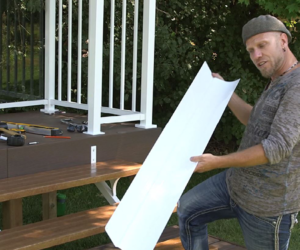
Close off your stairs with the aluminum QuickStep riser cover.
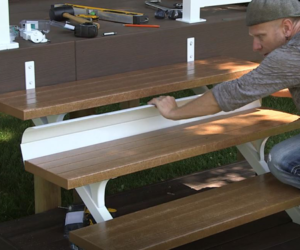
To install, simply tuck the QuickStep riser cover in place. Use a colour matching screw (model: WCS-50 sold separately) and screw the riser cover into the underside of the stair tread through the holes provided.
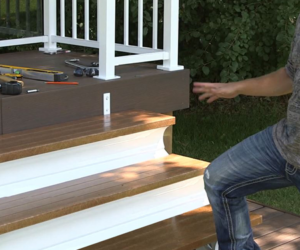
Repeat the process for the remaining steps.
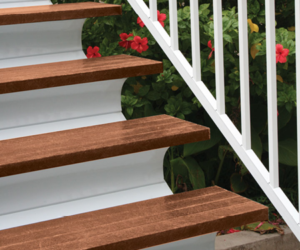
The QuickStep stair system provides you with safety and durability!

